Required Fields
What Happens on Creation
When you create an organization:- A unique slug is auto-generated from your org name
- Lowercased, non-alphanumeric characters replaced with hyphens
- Truncated to 50 characters
- If the slug already exists, a number suffix is appended (
-1,-2, etc.)
- You receive free starter credits as a welcome bonus
- You are added as the first admin with full permissions
Step by Step
- Navigate to the Organizations section in the dashboard
- Click Create Organization
- Enter a name for your organization
- Enter a billing email — this is where billing notifications and receipts will be sent
- Optionally add a description
- Click Create
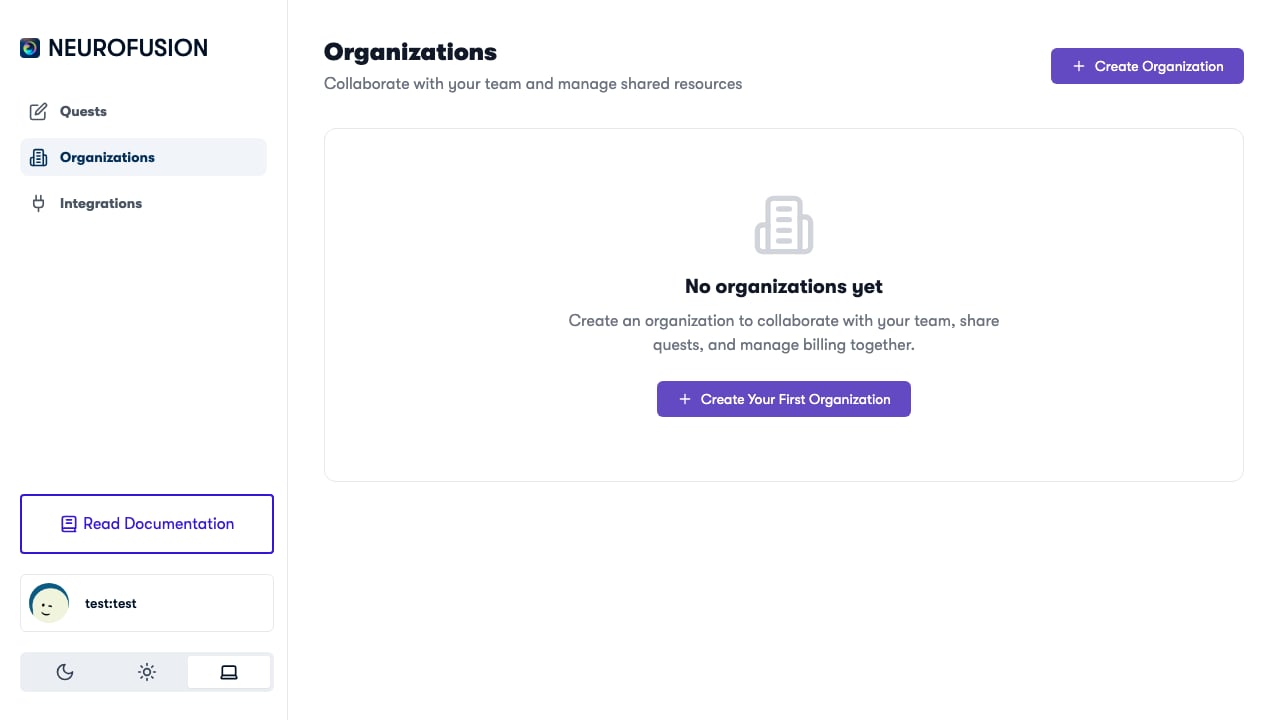
The Organizations page with the Create Organization button
You can create multiple organizations — for example, one per research lab, project, or study.
After Creation
Once your organization exists, you can:- Add members — search for existing Fusion users and invite them to your org (Members & Permissions)
- Create quests — the organization selector will appear in the quest editor
- Purchase credits — add funds to run studies (Purchasing Credits)