Step 1: Choose an Organization
When you click Create Quest, you’ll see an org selector dropdown. Choose which organization the quest belongs to — this determines who can manage the quest and where billing is charged.
The Create Quest form with title, description, organizer, and organization selector
- Select an existing organization from the dropdown
You must create an organization before creating a quest. See Creating an Organization to get started.
Step 2: Fill in Quest Metadata
- Title — a clear name for your study (e.g., “Daily Mood & Sleep Tracking”)
- Description — what the quest is about (shown to participants)
- Category — helps organize and discover quests
Step 3: Add Prompts (Optional)
Prompts are optional. Add them when your study needs recurring questions on a schedule, and skip them when your quest is experiment-only, onboarding-only, recording-focused, or otherwise does not need scheduled surveys.- Click Add Prompt
- Enter the prompt text
- Select a response type (Yes/No, Text, Number, Number Range, or Custom Options)
- Pick a category (Mental Health, Productivity, Health and Fitness, etc.)
- Configure the schedule: active days, time window, and frequency
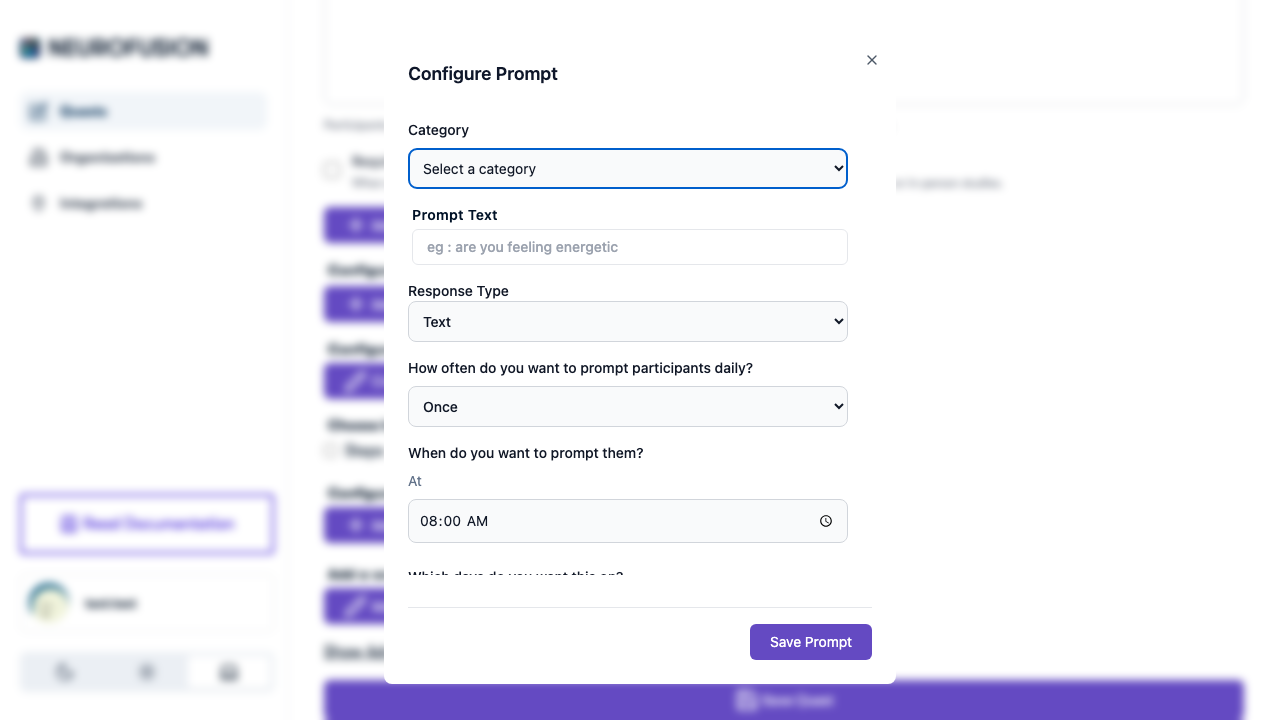
The Configure Prompt dialog with category, response type, and scheduling options
See Prompts for full details on response types, categories, scheduling, and conditional notifications.
Step 4: Add Experiments (Optional)
Add interactive jsPsych experiments for participants to complete.- Click Add Experiment
- Enter a name and optional description
- Write or paste experiment code in the Monaco editor (starts with a default jsPsych 8.0.3 template)
- Upload media (images, audio, video) using the media uploader
- Use the live preview to test your experiment
See Experiments for full details on the editor, media uploads, and ordering.
Step 5: Configure Onboarding (Optional)
Set up what participants see before they join the quest:- Full-text overview — rich HTML content for informed consent, study purpose, and data usage. Participants must check an acknowledgment box before continuing.
- Onboarding questions — screening questions with optional question guards to block ineligible participants.
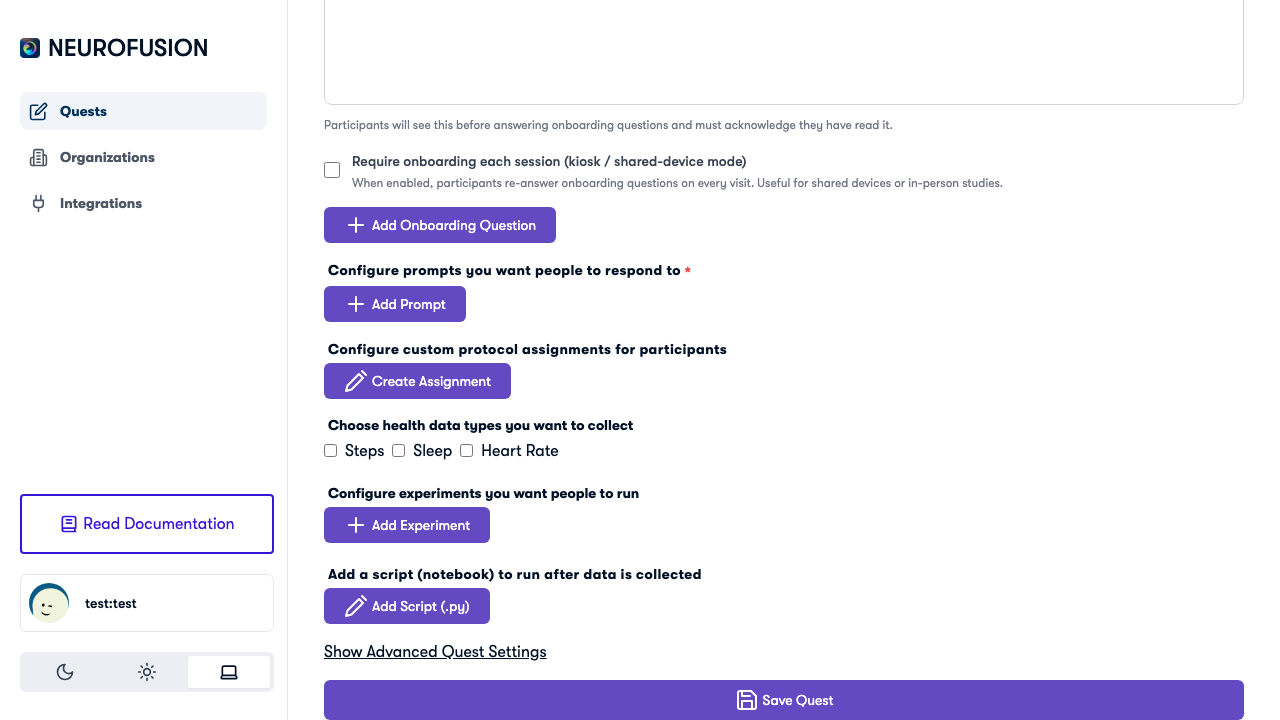
The lower portion of the Create Quest form with onboarding, prompts, experiments, health data, and script sections
See Onboarding & Consent for full details on the overview, questions, guards, and kiosk mode.
Step 6: Configure Health Data (Optional)
Toggle which health metrics to collect from participants with wearables:- Steps — daily step count
- Sleep — sleep duration and quality
- Heart Rate — heart rate measurements
Step 7: Save
Click Save to store your quest. This:- Generates a unique quest GUID and URL
- Enables media uploads for experiments (you can’t upload media until the quest is saved)
- Keeps the quest in draft status — it’s not visible to participants yet
Step 8: Publish
Click Publish to make the quest live and accessible via its URL. Once published, you can share the quest link:- Direct link — copy the URL and send it to participants
- QR code — generate a QR code for in-person recruitment
- Prolific — paste the URL as your Prolific study URL (see Prolific Integration)
Next Steps
Running a Study
End-to-end guide for conducting research.
Sharing & Publishing
Share your quest and manage collaborators.