1. Sign Up
Go to usefusion.ai and create an account. You’ll be signed in and taken to your dashboard.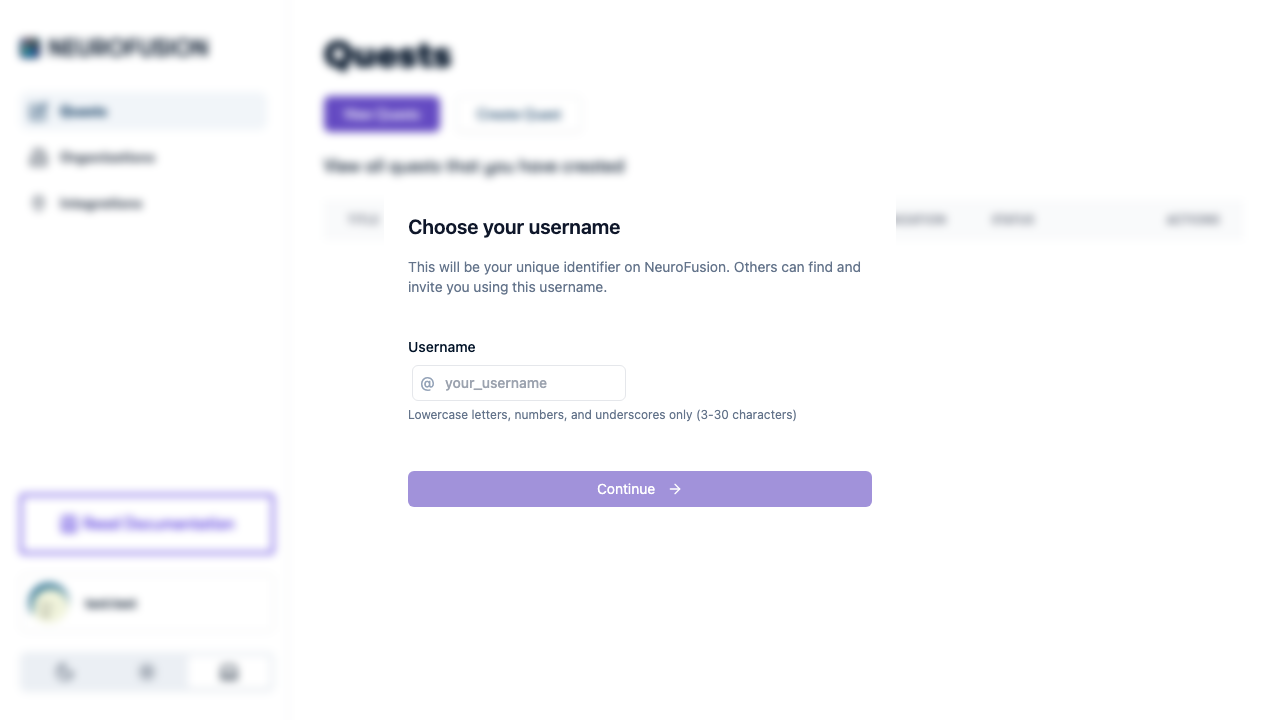
Choose a username during account setup
2. Create an Organization
Every quest belongs to an organization. You must create one before you can create quests.- Navigate to Organizations in the sidebar
- Click Create Organization
- Enter a name and billing email (required), plus an optional description
- Your new org starts with free bonus credits
You can create multiple organizations — for example, one per lab, project, or study.
3. Create a Quest
- Go to Quests and click Create Quest
- Select which organization the quest belongs to using the org selector dropdown
- Fill in the quest title, description, and category
4. Add Prompts
Prompts are recurring questions delivered to participants on a schedule. Every quest needs at least one.- Click Add Prompt
- Enter the prompt text (e.g., “How are you feeling right now?”)
- Choose a response type: Yes/No, Text, Number, Number Range, or Custom Options
- Select a category (e.g., Mental Health, Productivity)
- Set the schedule: which days, what time window, and how often
See Prompts for the full guide on response types, categories, scheduling, and conditional notifications.
5. Add an Experiment (Optional)
Experiments are interactive jsPsych tasks that participants complete.- Click Add Experiment
- Enter a name and optional description
- The code editor opens with a default jsPsych 8.0.3 template — edit it or paste your own code
- Use the live preview to test your experiment
- Upload images, audio, or video using the media uploader
See Experiments for the full experiment editor guide, media uploads, and ordering.
6. Configure Onboarding (Optional)
Onboarding lets you show a consent form and screen participants before they join.- Write a full-text overview with your informed consent language, study purpose, and data usage
- Add onboarding questions for eligibility screening (e.g., “How old are you?”)
- Set question guards to block ineligible participants (e.g., must be 18 or older)
See Onboarding & Consent for the full onboarding configuration guide.
7. Save and Publish
- Click Save — this generates a unique quest URL and enables media uploads
- Click Publish to make the quest available to participants (consumes credits — see Pricing)
- Share the quest link directly, via QR code, or paste it as a Prolific study URL
What Happens Next
- Participants open the quest link → complete onboarding → answer prompts on schedule → complete experiments
- You monitor responses, billing, and participant data from the organization dashboard
- Data is stored securely and can be exported for analysis
Next Steps
Quest Overview
Learn about quest anatomy and configuration.
Run a Study
End-to-end guide for running a research study.
Organizations
Set up teams with permissions and shared billing.
Prolific Integration
Recruit participants through Prolific.